LED TV Not Turning On? 12 Easy Fixes Before Calling a Technician
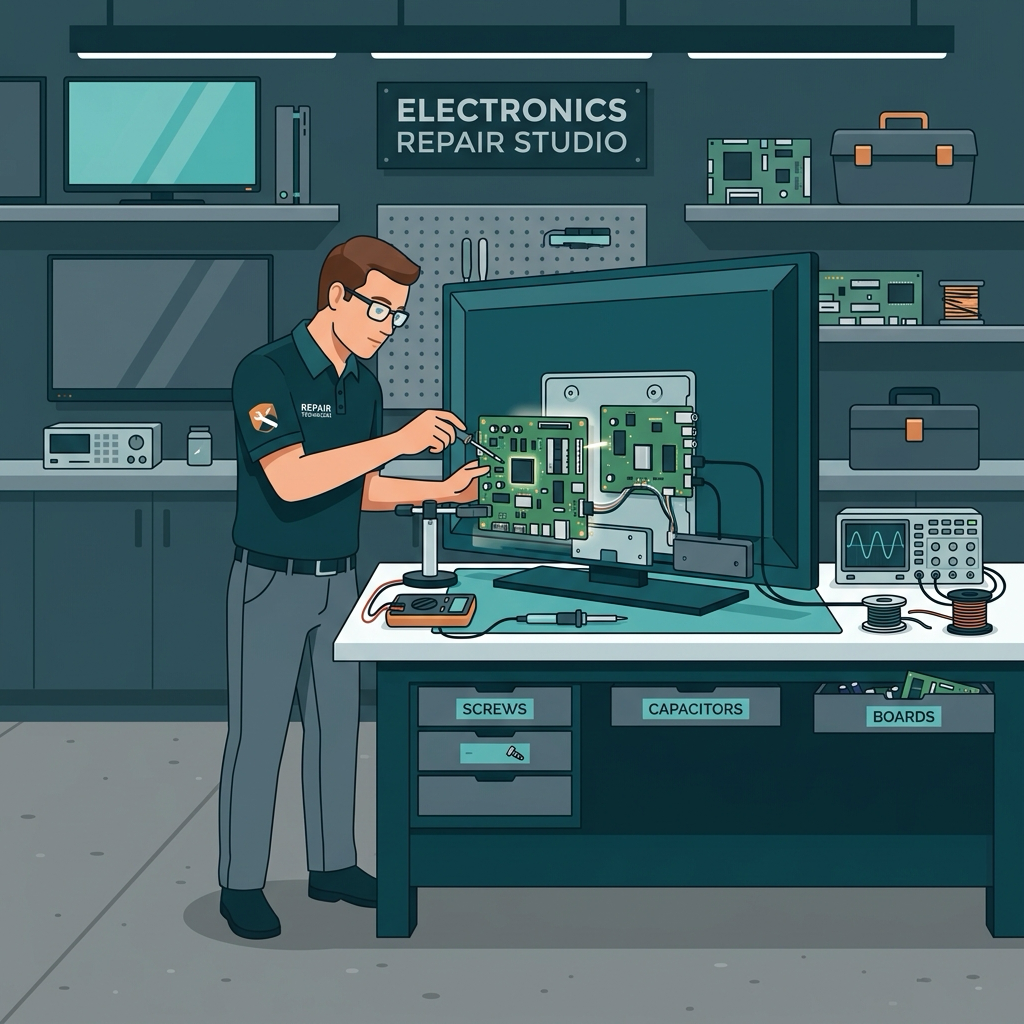
If your LED TV won't turn on, start by power-cycling it (unplug for 60 seconds), checking the power outlet with another device, inspecting remote control batteries, and reseating all HDMI cables. If a standby light is blinking or completely dead, it could indicate a faulty power supply board or motherboard requiring professional service.
It is incredibly frustrating when you sit down to watch your favorite show, press the power button, and nothing happens. An LED TV that refuses to turn on is a common problem, but it doesn't always mean your TV is broken. Often, the culprit is a loose cable, a glitched remote, or a simple power outage in the socket.
Before you spend money calling in a professional service technician, try these 12 easy troubleshooting steps to get your LED TV back up and running.
1. Perform a Soft Reset (Power Cycle)
The most common fix for an unresponsive TV is a soft reset. This drains any residual electricity stored in the capacitors, resetting the TV's internal processor.
- Unplug the TV from the wall outlet.
- Press and hold the power button on the TV panel (not the remote) for 30 seconds.
- Keep the TV unplugged for an additional 2 minutes.
- Plug the TV back in and try turning it on.
2. Check the Standby Light
Observe the small LED light at the bottom of your TV (the standby indicator). Its behavior tells us a lot about the issue:
- No Light at All: The TV is not receiving any electrical power. The issue is with the outlet, power cord, or the TV's power board.
- Solid Red Light: The TV is receiving power and is in standby mode. If it won't turn on, the issue is likely with the remote control or the motherboard.
- Blinking Light: A blinking standby light usually represents an error code. Check your TV manual for the blink pattern to diagnose the failing internal component.
3. Test the Wall Outlet
Do not assume the wall socket is working. Outlets can trip breakers or fail internally.
- Unplug your TV and plug a working device (like a phone charger or lamp) into the same socket.
- If the lamp doesn't turn on, reset your home's circuit breaker or fuse box.
- If you are using a surge protector or extension cord, bypass it and plug the TV directly into the wall.
4. Inspect the Power Cable
A damaged power cord can prevent electricity from reaching the TV.
- Inspect the cord for chew marks, sharp bends, or exposed wires.
- Ensure the cable is plugged firmly into both the wall outlet and the back of the TV.
- If your TV uses a detachable power cord, try swapping it with a matching cord from another appliance to test.
5. Troubleshoot the Remote Control
Sometimes the TV is working fine, but the remote is failing to send the signal.
- Replace the batteries with brand-new ones.
- Clean the infrared (IR) sensor at the top of the remote and the bottom of the TV.
- Perform a remote reset: Remove the batteries, press every button on the remote once to clear stuck keys, and put the batteries back.
- Test the IR signal: Open your smartphone camera, point the remote at the camera lens, and press buttons. If you see a flashing purple/blue light through the screen, the remote is working.
6. Disconnect All HDMI Inputs
External devices like game consoles, streaming sticks (Fire Stick, Apple TV), and cable boxes can crash the TV's firmware through HDMI-CEC conflicts.
- Unplug every HDMI cable from the back of your TV.
- Try turning on the TV.
- If it turns on, reconnect the devices one by one to find the faulty input device.
7. Try the Physical Power Button
If your TV turns on using the button located on the side or bottom of the TV frame, your remote control is broken or has unpaired.
- Look closely under the front logo or on the back/sides of the panel for the physical button.
- Press it firmly to test if the screen turns on.
8. Perform the Flashlight Test
If your TV turns on, the standby light changes, and you can hear sound but see no picture, your TV's backlight system might have failed.
- Turn on the TV in a dark room.
- Shine a bright flashlight directly at the screen from a close distance.
- Look closely for faint images or menus. If you can see faint outlines of text or pictures, your LED backlights are burnt out and need replacement.
9. Check the Input Source
You might have accidentally switched the input source to an empty HDMI port, making the TV look dead.
- Press the Input or Source button on your remote.
- Cycle through the options (HDMI 1, HDMI 2, AV) to see if the picture reappears.
10. Check for Firmware Issues
Smart TVs can hang during automatic software updates, leaving them stuck in a boot loop.
- If your TV has a physical factory reset pinhole on the back, insert a paperclip for 15 seconds while the TV is plugged in.
- For Android/Google TVs, unplug the power, hold down the power and volume down buttons on the TV panel, and plug the power back in until the recovery menu appears.
11. Look for Blown Capacitors
If you have some technical skills and are comfortable opening the TV casing (ensure it is unplugged!), you can visually inspect the power board.
- Look for capacitors (small cylinder-like components).
- If the tops of the cylinders are bulging, leaking, or burnt, they are blown and must be desoldered and replaced.
12. Inspect the Voltage Stabilizer
If you are using an external voltage stabilizer, it might be tripping due to high/low voltage or have a blown fuse.
- Bypass the stabilizer temporarily to test if the TV turns on.
- If the TV works without it, get your stabilizer serviced or replaced to protect your TV from future power surges.
When to Call a Professional Technician
If you have tried all the steps above and your LED TV is still completely unresponsive, it is likely an internal hardware failure. The most common hardware issues include:
- Burnt Power Supply Board: Caused by power surges or overheating.
- Damaged Main Motherboard: Requires professional diagnostic tools and replacement parts.
- Burnt LED Backlights: Requires dismantling the screen panel to replace the LED strips.
For fast, reliable, and professional doorstep LED TV repair services across Chennai, contact AMIT Services. Our certified technicians can diagnose and fix your TV in the comfort of your home with genuine parts and a warranty.
Need Professional Repair?
Don't risk damaging your device. Get certified doorstep diagnostics and repairs in Chennai.
- Free Home Inspection
- Up to 6-Months Warranty
- 100% Genuine Spare Parts
Summarize with AI
"The guide focuses on methodical troubleshooting for a dead LED TV. Key areas include testing electrical supply integrity, isolating remote control failures, executing a hard reset (static drain), checking input ports (HDMI, AV), and diagnosing standby light flash codes. Most black-screen or zero-power issues result from simple cable faults, but persistent blinking lights point to internal board level component issues like blown capacitors."